Generate a parser with AI
This article explains how to generate a custom intake parser from sample logs, using the AI agent, instead of building the parser stage by stage. The same procedure applies whether you are creating a parser from scratch or updating one that already exists.
Early Access
This feature is currently in Early Access and is only available for Beta testers. Sekoia.io plans to roll out this functionality to all environments soon.
Prerequisites
- You have the
SIC_WRITE_INTAKEpermission associated to your Sekoia account. - You have sample logs from the source you want to ingest, saved as files you can upload.
- The samples cover every event type the source emits. The agent tests the parser only against the samples you provide.
Generate a parser from scratch
Step 1: Open the custom intake creation page
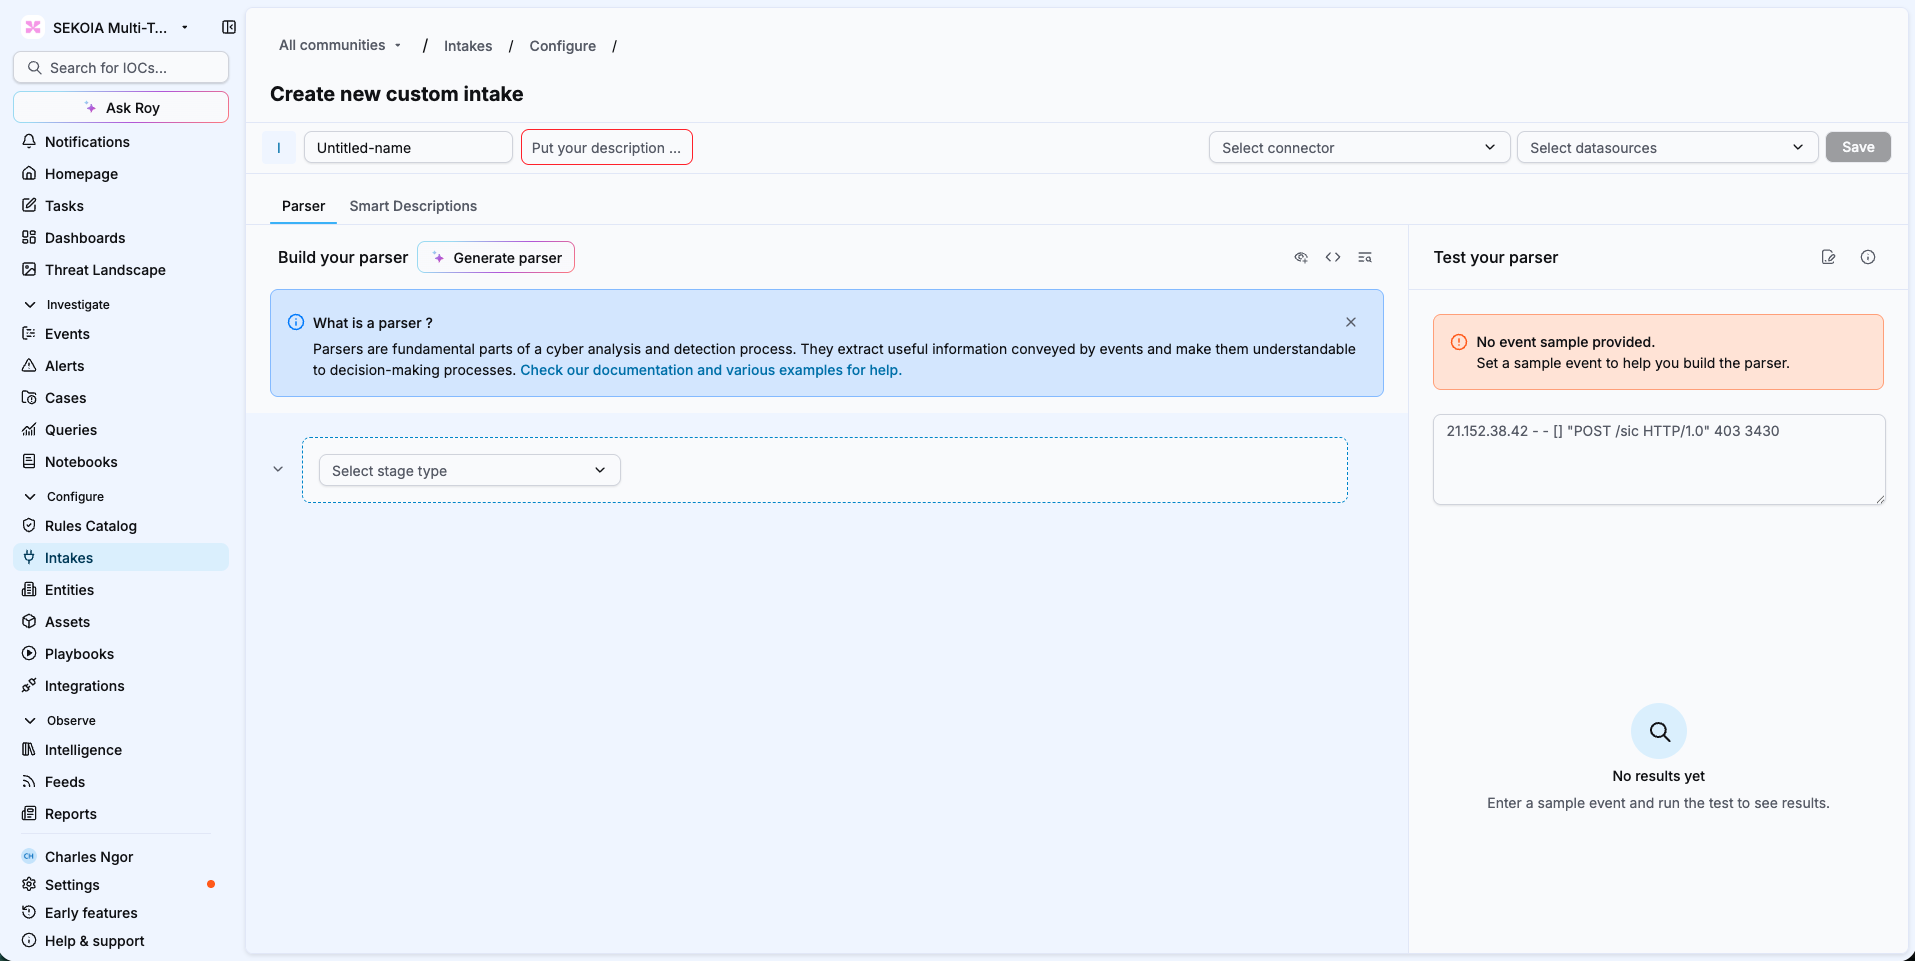
Navigate to Intakes > + Intake > Custom format. The Create new custom intake page opens on the Parser tab.
Step 2: Start the agent
In the Build your parser section, click Generate parser.
Step 3: Import your log samples
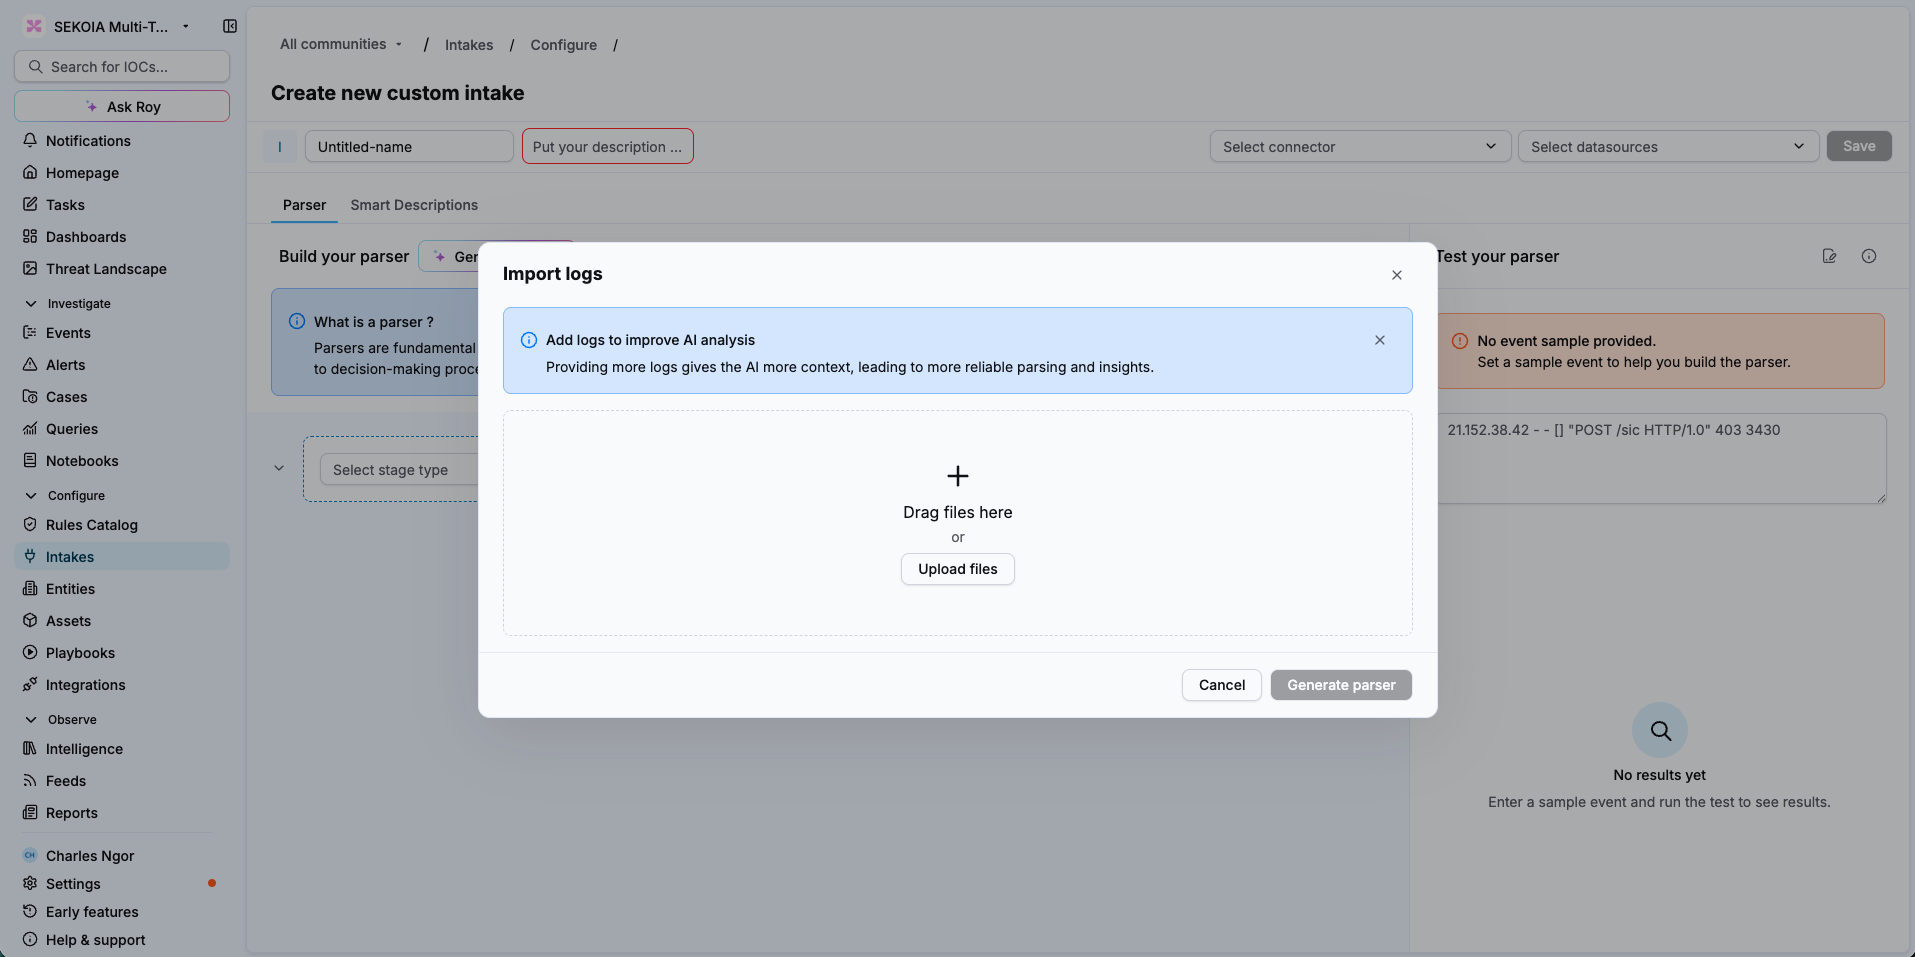
The Import logs modal opens. Drag your log files into the modal, or click Upload files and select them.
Provide as many samples as you can
Providing more logs gives the agent more context, which leads to a more reliable parser. If your source emits several distinct event types, include a sample of each one. The agent never tests against a log variant you did not upload.
Step 4: Run the generation
Once your files are listed in the modal, click Generate parser.
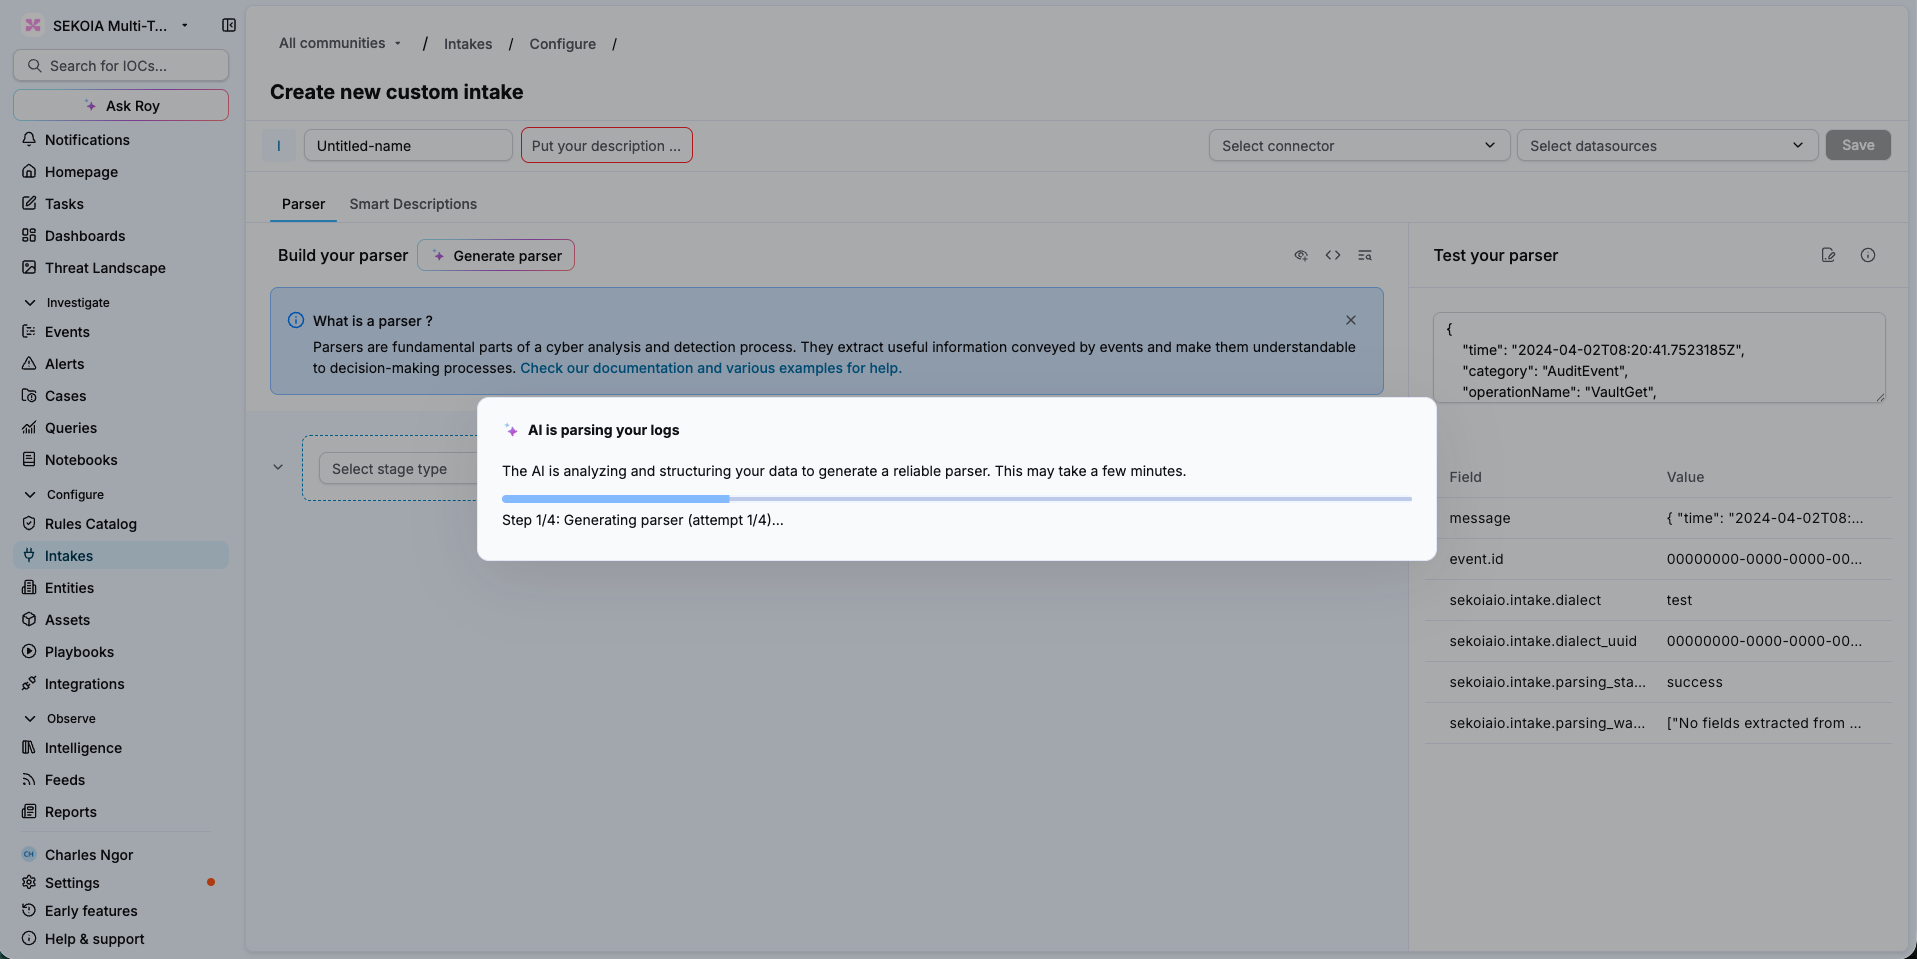
The agent writes a parser, then tests it against your samples. If a test does not pass, it revises the parser and tries again. A progress popup reports the step the agent is on and the attempt it is making. Generation takes a few minutes.
Step 5: Review the generated parser
When the agent finishes, the progress popup closes and the generated stages appear in the parser builder.
Review the stages and the fields they extract. To confirm the behavior on an event of your own, enter a sample event in Test your parser and run the test.
Step 6: Save the intake
- Enter a Name and a Description.
- Select a Connector and the Datasources associated with your events
- Click Save.
Update an existing parser
The agent also updates a parser that already exists. Use this when a source starts emitting an event type that your current parser does not handle.
- Open the custom intake whose parser you want to extend.
- In the Build your parser section, click Generate parser.
- Import samples of the logs that are not parsed yet.
- Click Generate parser.
The agent updates the existing parser so it also supports the content of the samples you provided. It does not discard your parser and rebuild it from scratch.
What happens next
Your parser is configured but nothing is ingested until an intake is running against it. Create an instance of the intake and start sending your logs, then use the intake details page to watch events arrive and to spot events that come back invalid or in warning.
Everything the agent produced remains editable. The generated stages behave exactly like stages you would have written by hand, so you can refine them at any time in the parser builder.
Related articles
- AI intake parser overview: What the agent does, how the generate and self-test loop works, and when to use it.
- Intakes: How to create an intake, monitor its health, and inspect invalid or warning events.
- Create a Format: How to build a custom format manually, on the platform or through the intake-formats repository.
- How to write a parser: Reference for parser stages, filters, conditions and the fields manager.
- Troubleshooting: How to diagnose a parser that fails or raises parsing warnings.
- Intake Restricted roles: How intake permissions are scoped to users and communities.