Configure custom alert statuses
Custom statuses allow you to tailor the alert lifecycle to your SOC team's specific processes. You can create, edit, and organize statuses to match your organization's workflow requirements.
Prerequisites
Access required
You must have administrative access to the configuration pages.
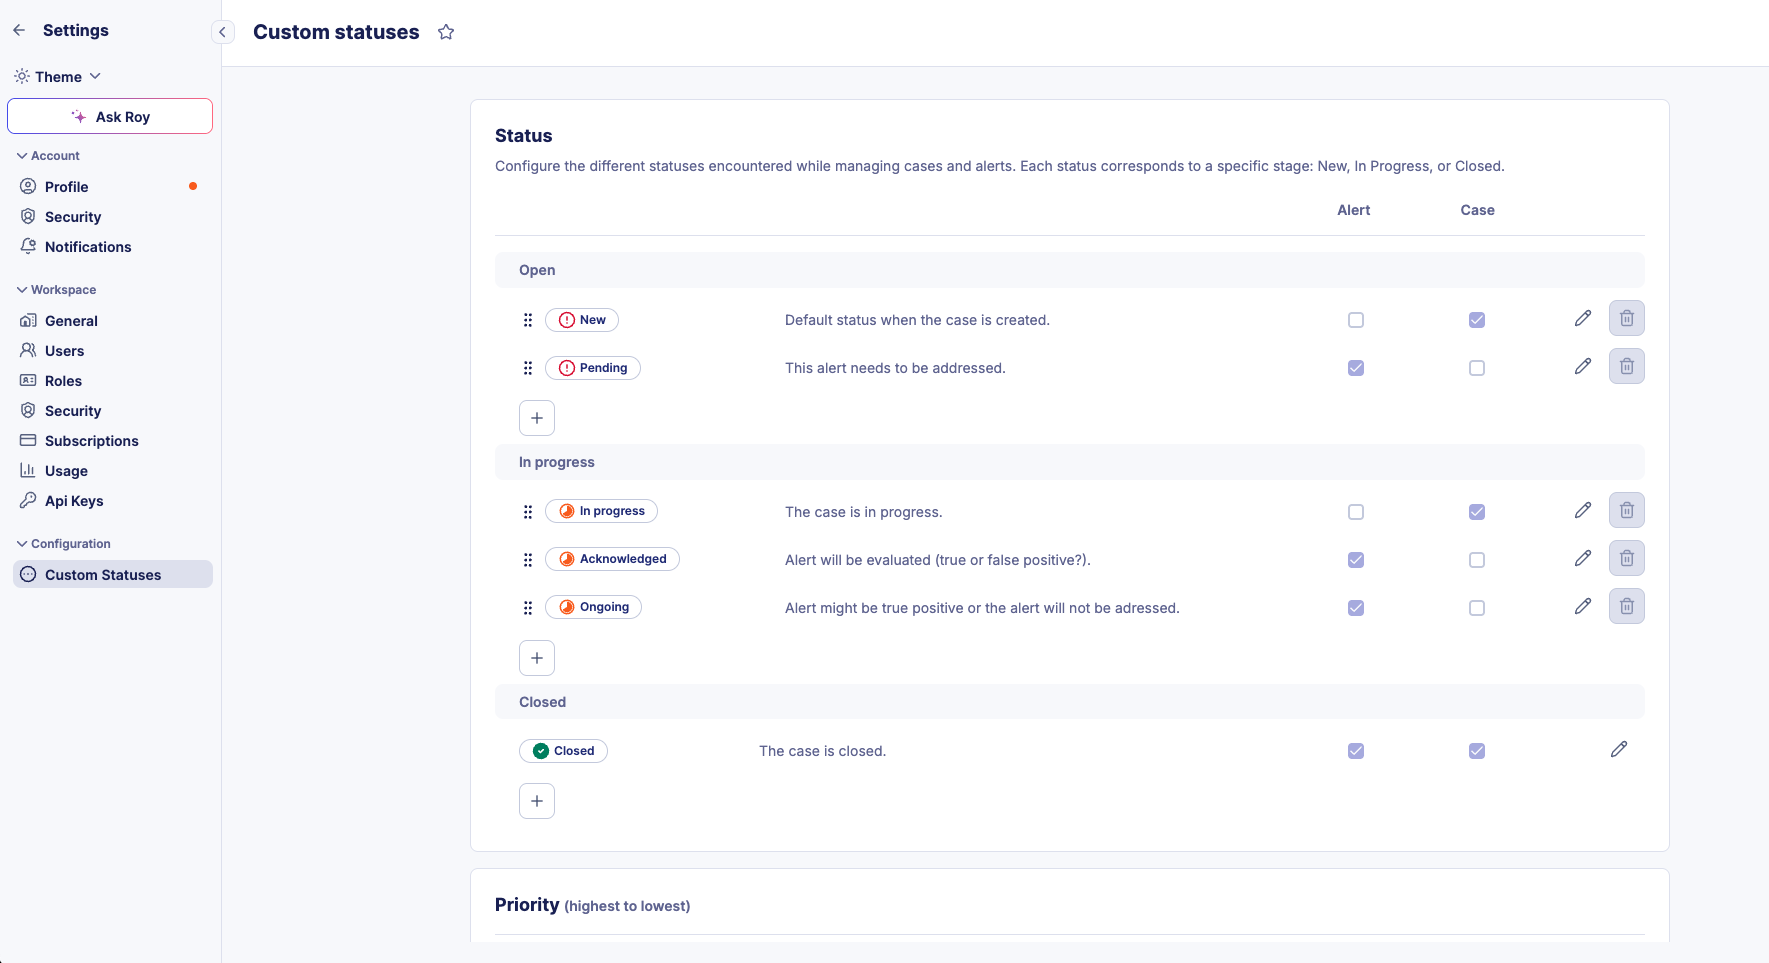
Status stages
Each custom status belongs to one of three stages that define its position in the alert lifecycle:
| Stage | Description |
|---|---|
| Open | Initial stage for new or unprocessed alerts. |
| In Progress | Intermediate stage for alerts under investigation or awaiting action. |
| Closed | Final stage for alerts that have been resolved or dismissed. |
These stages determine the overall state of an alert and affect features such as search filters and similarity grouping.
Create a custom status
- On the left panel, navigate to Settings > Configuration > Custom Statuses.
- Click + to create a new custom status in the appropriate stage.
- Enter a Name (e.g., "Awaiting User Response").
- Enter a Description about when this status should be used.
- Use the checkboxes in the Alert and Case columns to enable the status for each context.
- Click Save.
Enable a status for alerts and cases
A custom status can be shared across both alerts and cases, ensuring consistent terminology throughout your SOC platform.
Tip
Enabling the same status for both alerts and cases reduces the number of statuses to manage and improves communication across investigation contexts.
- On the left panel, navigate to Settings > Configuration > Custom Statuses.
- Locate the status you want to configure.
- Select the checkbox in the Alert column, the Case column, or both.
Edit a custom status
- On the left panel, navigate to Settings > Configuration > Custom Statuses.
- Click the status you want to modify.
- Update the Name or Description.
- Click Save.
Note
Modifying a status name or description does not affect historical data. Previously recorded status changes continue to display the original values in alert timelines and case histories.
Reorder statuses
- On the left panel, navigate to Settings > Configuration > Custom Statuses.
- Locate the drag handle on the status you want to move.
- Drag and drop the status to your preferred position.
The new order is immediately reflected in all status dropdowns across the platform.
Delete a custom status
Status in use cannot be deleted
You can only delete a status if it is not currently applied to any alert or case. Reassign all affected items to a different status before proceeding.
- Reassign all alerts and cases using the status you want to delete to a different status.
- Return to the Custom Statuses configuration page.
- Click the delete icon next to the status.
Related articles
- Configure custom verdicts: Standardize how your team classifies alert outcomes.
- Alerts: Understand the underlying logic of alert stages and lifecycles.
- Manage alerts: Learn how to process alerts using custom statuses.