Migrate custom statuses
A custom status that is already carried by alerts or cases can still be retired. When you disable or delete such a status, Sekoia asks you for a replacement status and reassigns every existing item to it. This article explains both procedures and what happens once the migration starts.
You retire a status in two ways, and both go through the same migration:
- Disabling it for alerts or for cases removes it from that context only. The status stays available in the other context.
- Deleting it removes the status from your workspace entirely.
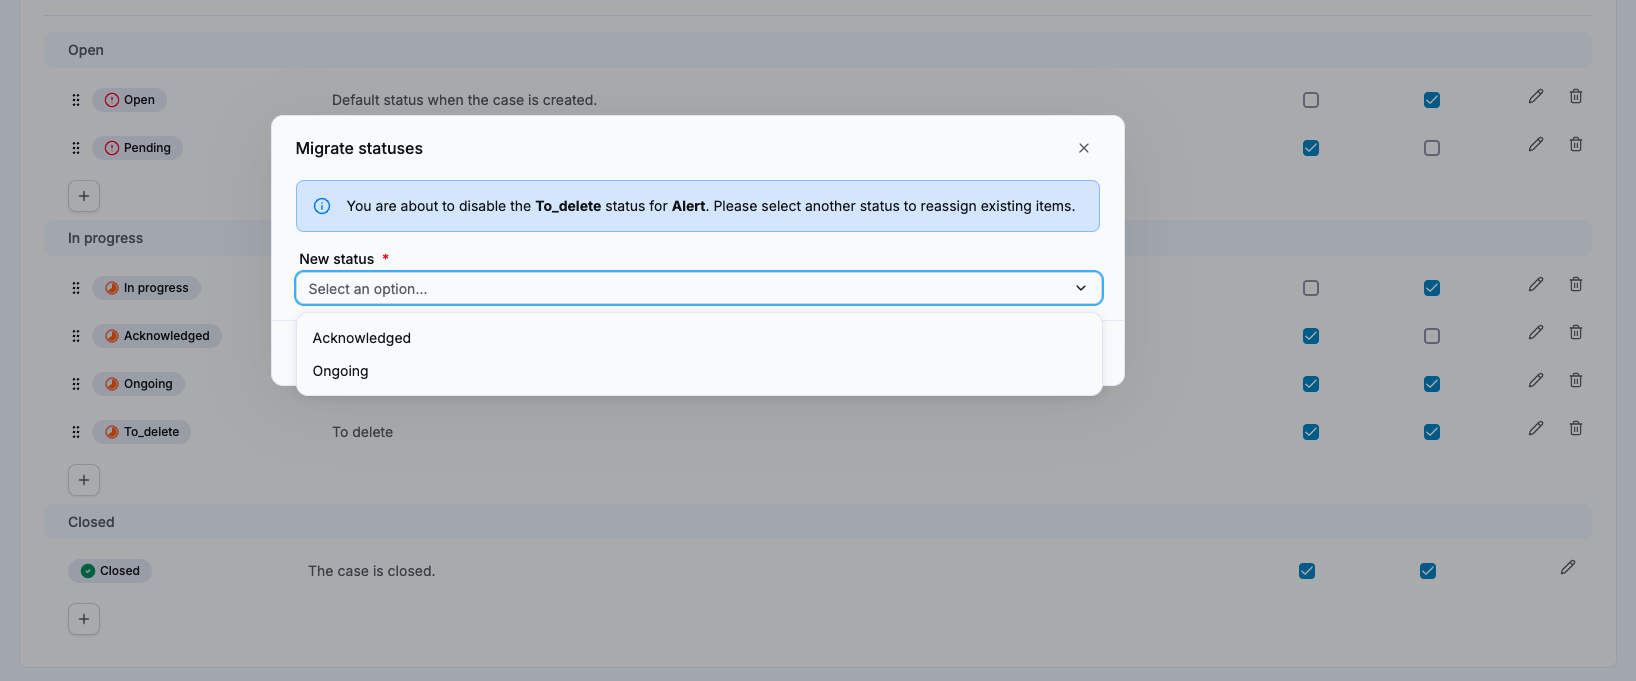
The New status list offers the statuses that belong to the same stage as the one you are retiring. A status in the In progress stage is therefore replaced by another In progress status, which keeps your alerts and cases at the same point of the lifecycle and preserves the behavior that depends on the stage, such as alert similarity and case editing.
A replacement status is mandatory
An alert or a case always carries a status, so there is no way to retire a status without saying where its items should go. The New status field is required in both flows.
Disable a custom status for alerts or cases
Disable a status when your team no longer uses it in one context but still needs it in the other. For example, a status that once served both alerts and cases, and is now only meaningful on cases.
- Navigate to Settings > Custom Statuses.
- Locate the status you want to disable.
- Clear the checkbox in the Alert or the Case column. The Migrate statuses window opens and confirms what you are about to do.
- Select a replacement status in the New status list.
- Click Save.
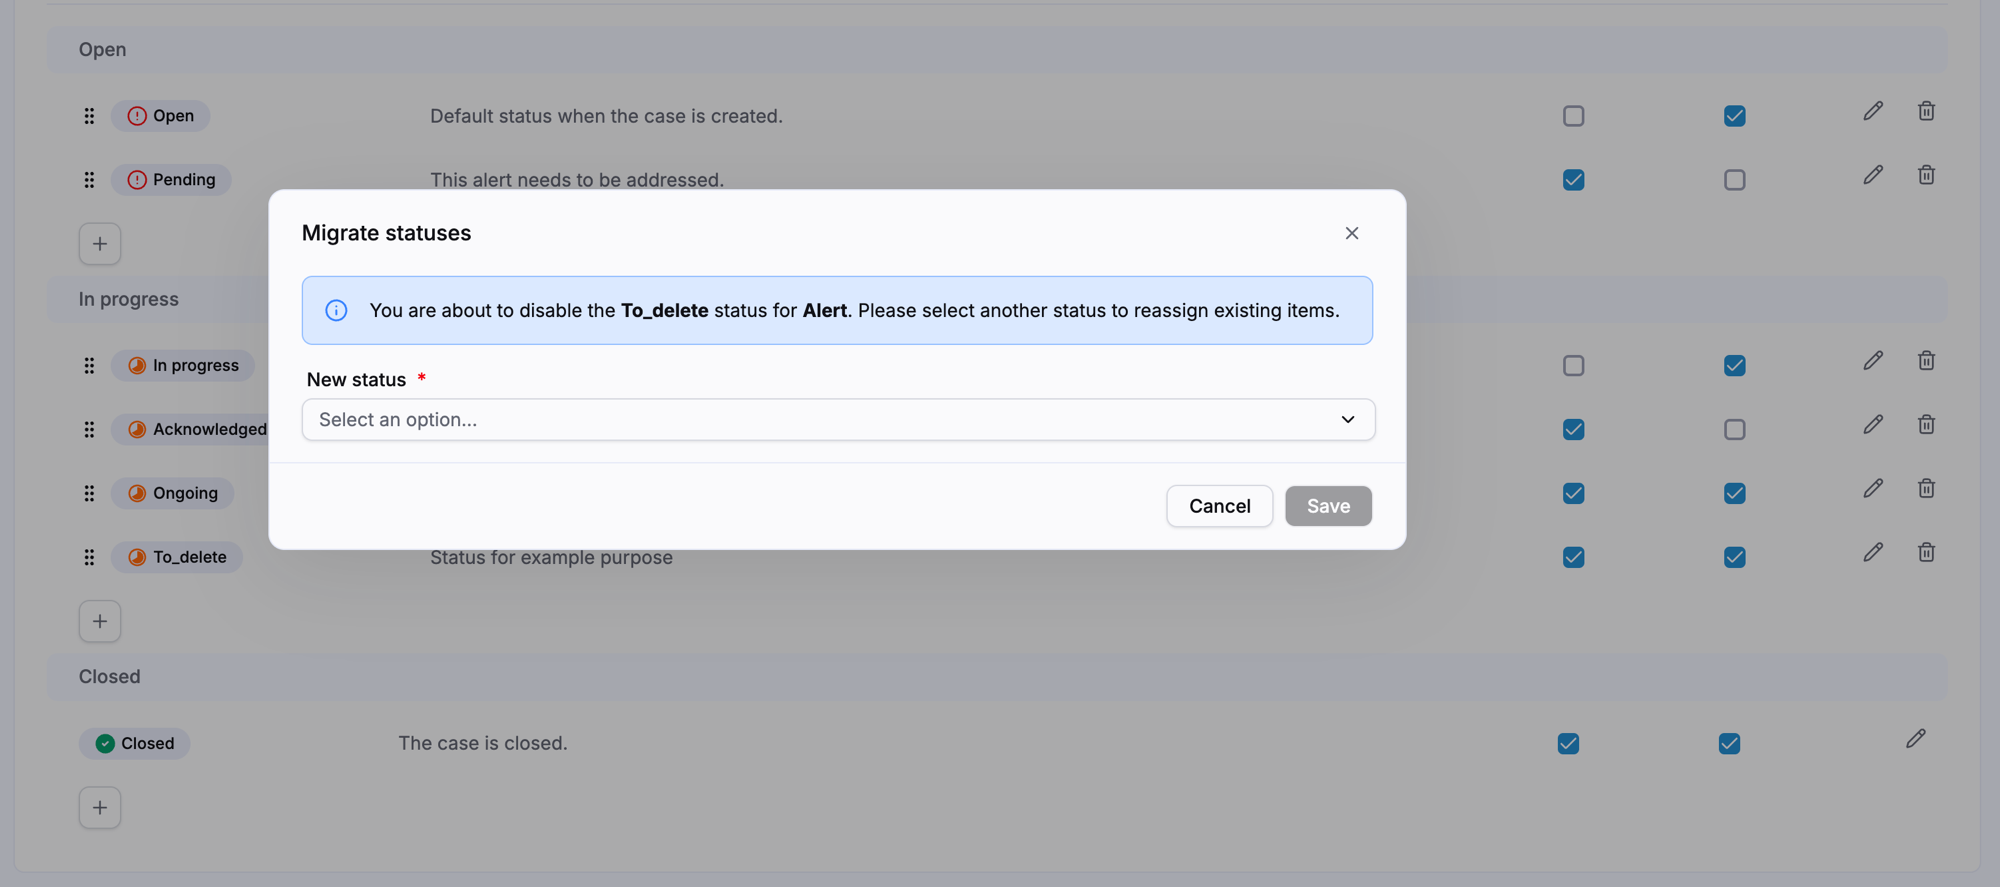
Every alert or case in the context you disabled is reassigned to the replacement status. The status disappears from the status menus of that context, and remains selectable in the other one.
Delete a custom status
Delete a status when your team has stopped using it altogether.
- Navigate to Settings > Custom Statuses.
- Locate the status you want to delete.
- Click the delete icon on the status row. The Delete status window opens.
- Select a replacement status in the New status list.
- Click Save.
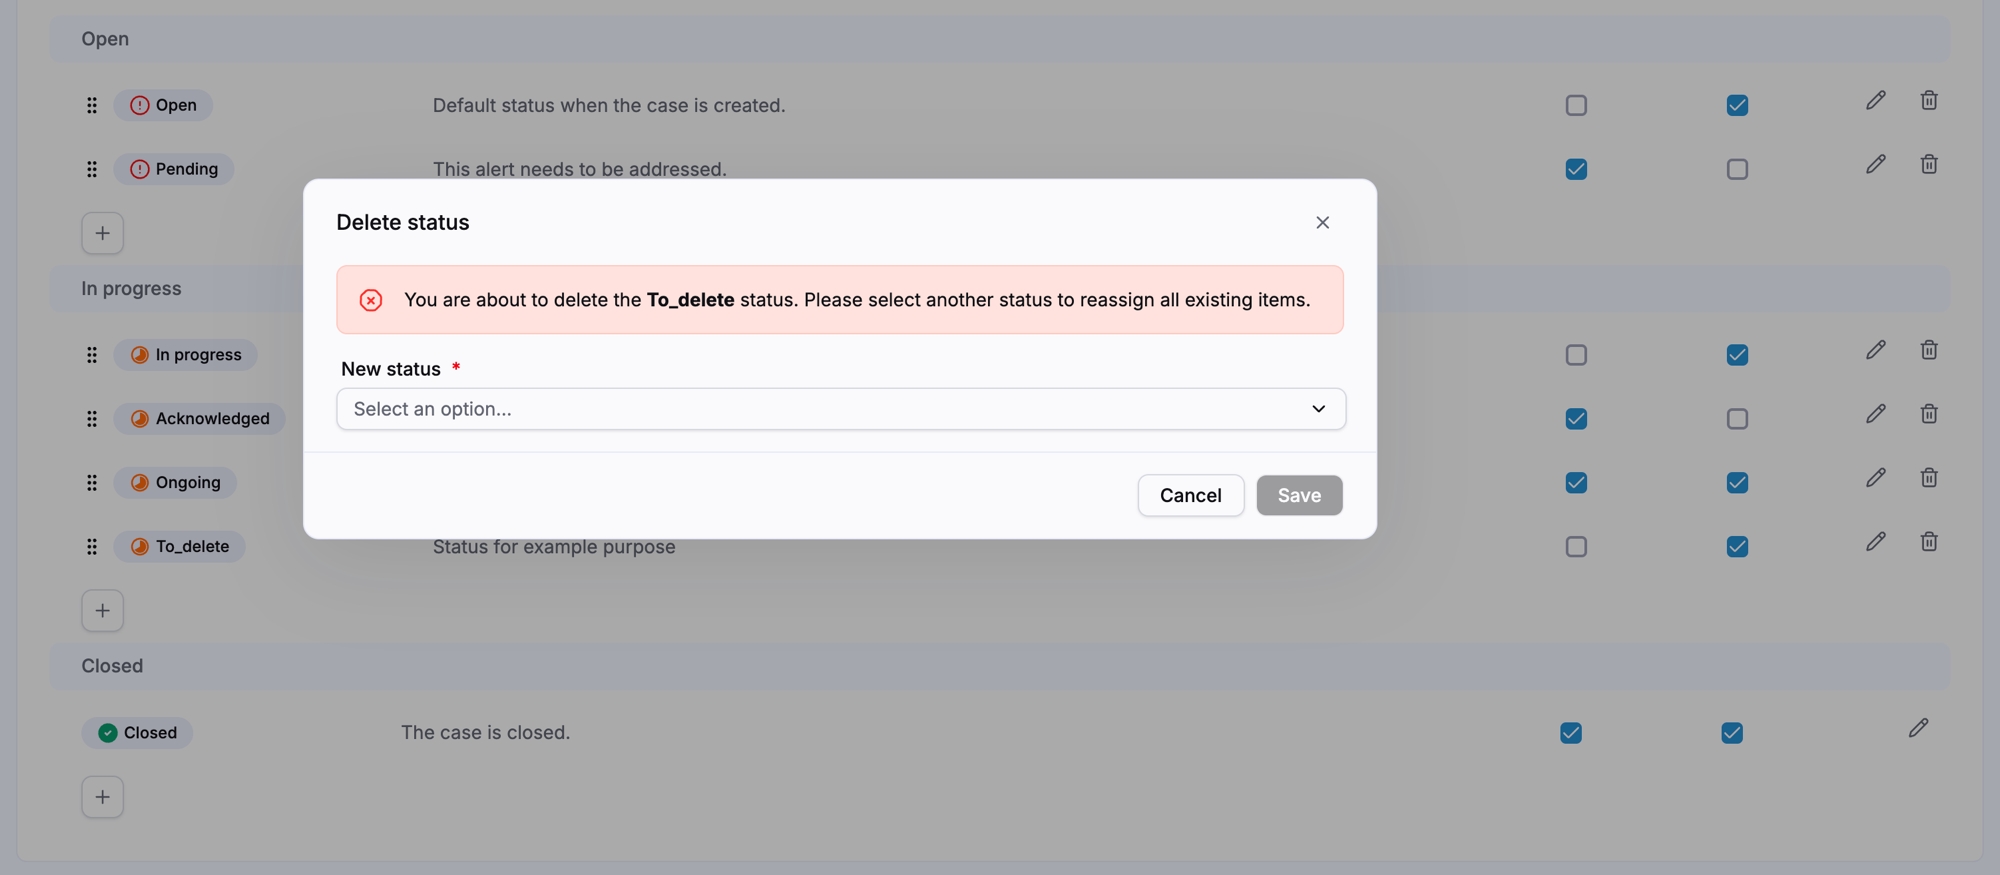
All existing items are reassigned, alerts and cases alike, and the status is removed from your workspace.
Deleting a status is irreversible
The status is removed from every status selection menu and cannot be restored. Recreating a status with the same name does not bring back the alerts and cases that were reassigned, they keep the replacement status.
What happens once the migration starts
A window shows the progress of the migration. The migration then runs in the background, so you can keep working while it completes, and you are notified when it finishes.
The time it takes depends on how many alerts and cases carry the status. A status used by a handful of items is reassigned almost immediately, while one that has accumulated items over months takes longer.
History keeps the original status
Reassigning alerts and cases does not rewrite their past. Alert timelines and case histories keep the status name that was in use at the time of each change.
Related articles
- Custom statuses: What custom statuses are, the three stages, and how one status serves both alerts and cases.
- Manage custom statuses: How to create, edit, reorder and enable custom statuses.
- Custom verdicts: Why a verdict in use cannot be deleted, unlike a status.
- Manage cases: How to change the status of several cases at once from the cases listing page.
- Alerts: How to change the status of several alerts at once from the alerts page.