Configure custom alert statuses
Sekoia lets you create and organize alert statuses to match your SOC team's workflow. Custom statuses define the lifecycle stages an alert moves through, from detection to resolution.
Note
Existing users are automatically migrated: legacy statuses (Pending, Acknowledged, Ongoing, Closed, Rejected) are converted to custom statuses. Current workflows remain unchanged.
Default alert statuses
Sekoia ships with five default statuses:
| Status | Description | Available transitions |
|---|---|---|
| Pending | Applied as soon as an alert is triggered. Automatically changes to Ongoing when the rule's generation mode is set to Automatic. | Acknowledge, Reject, Validate |
| Acknowledged | Indicates that analysis is in progress. This status is optional if the analyst can quickly confirm a true or false positive. Time to acknowledge is recorded in statistics and set when the status changes to Ongoing or Rejected. | Validate, Reject |
| Ongoing | The alert is a confirmed true positive and countermeasures have not yet been applied. This is the first status in Automatic generation mode. | Close, Reject |
| Closed | All required actions have been applied. Final status. | None |
| Rejected | The alert was a false positive. Final status. | None |
Status stages
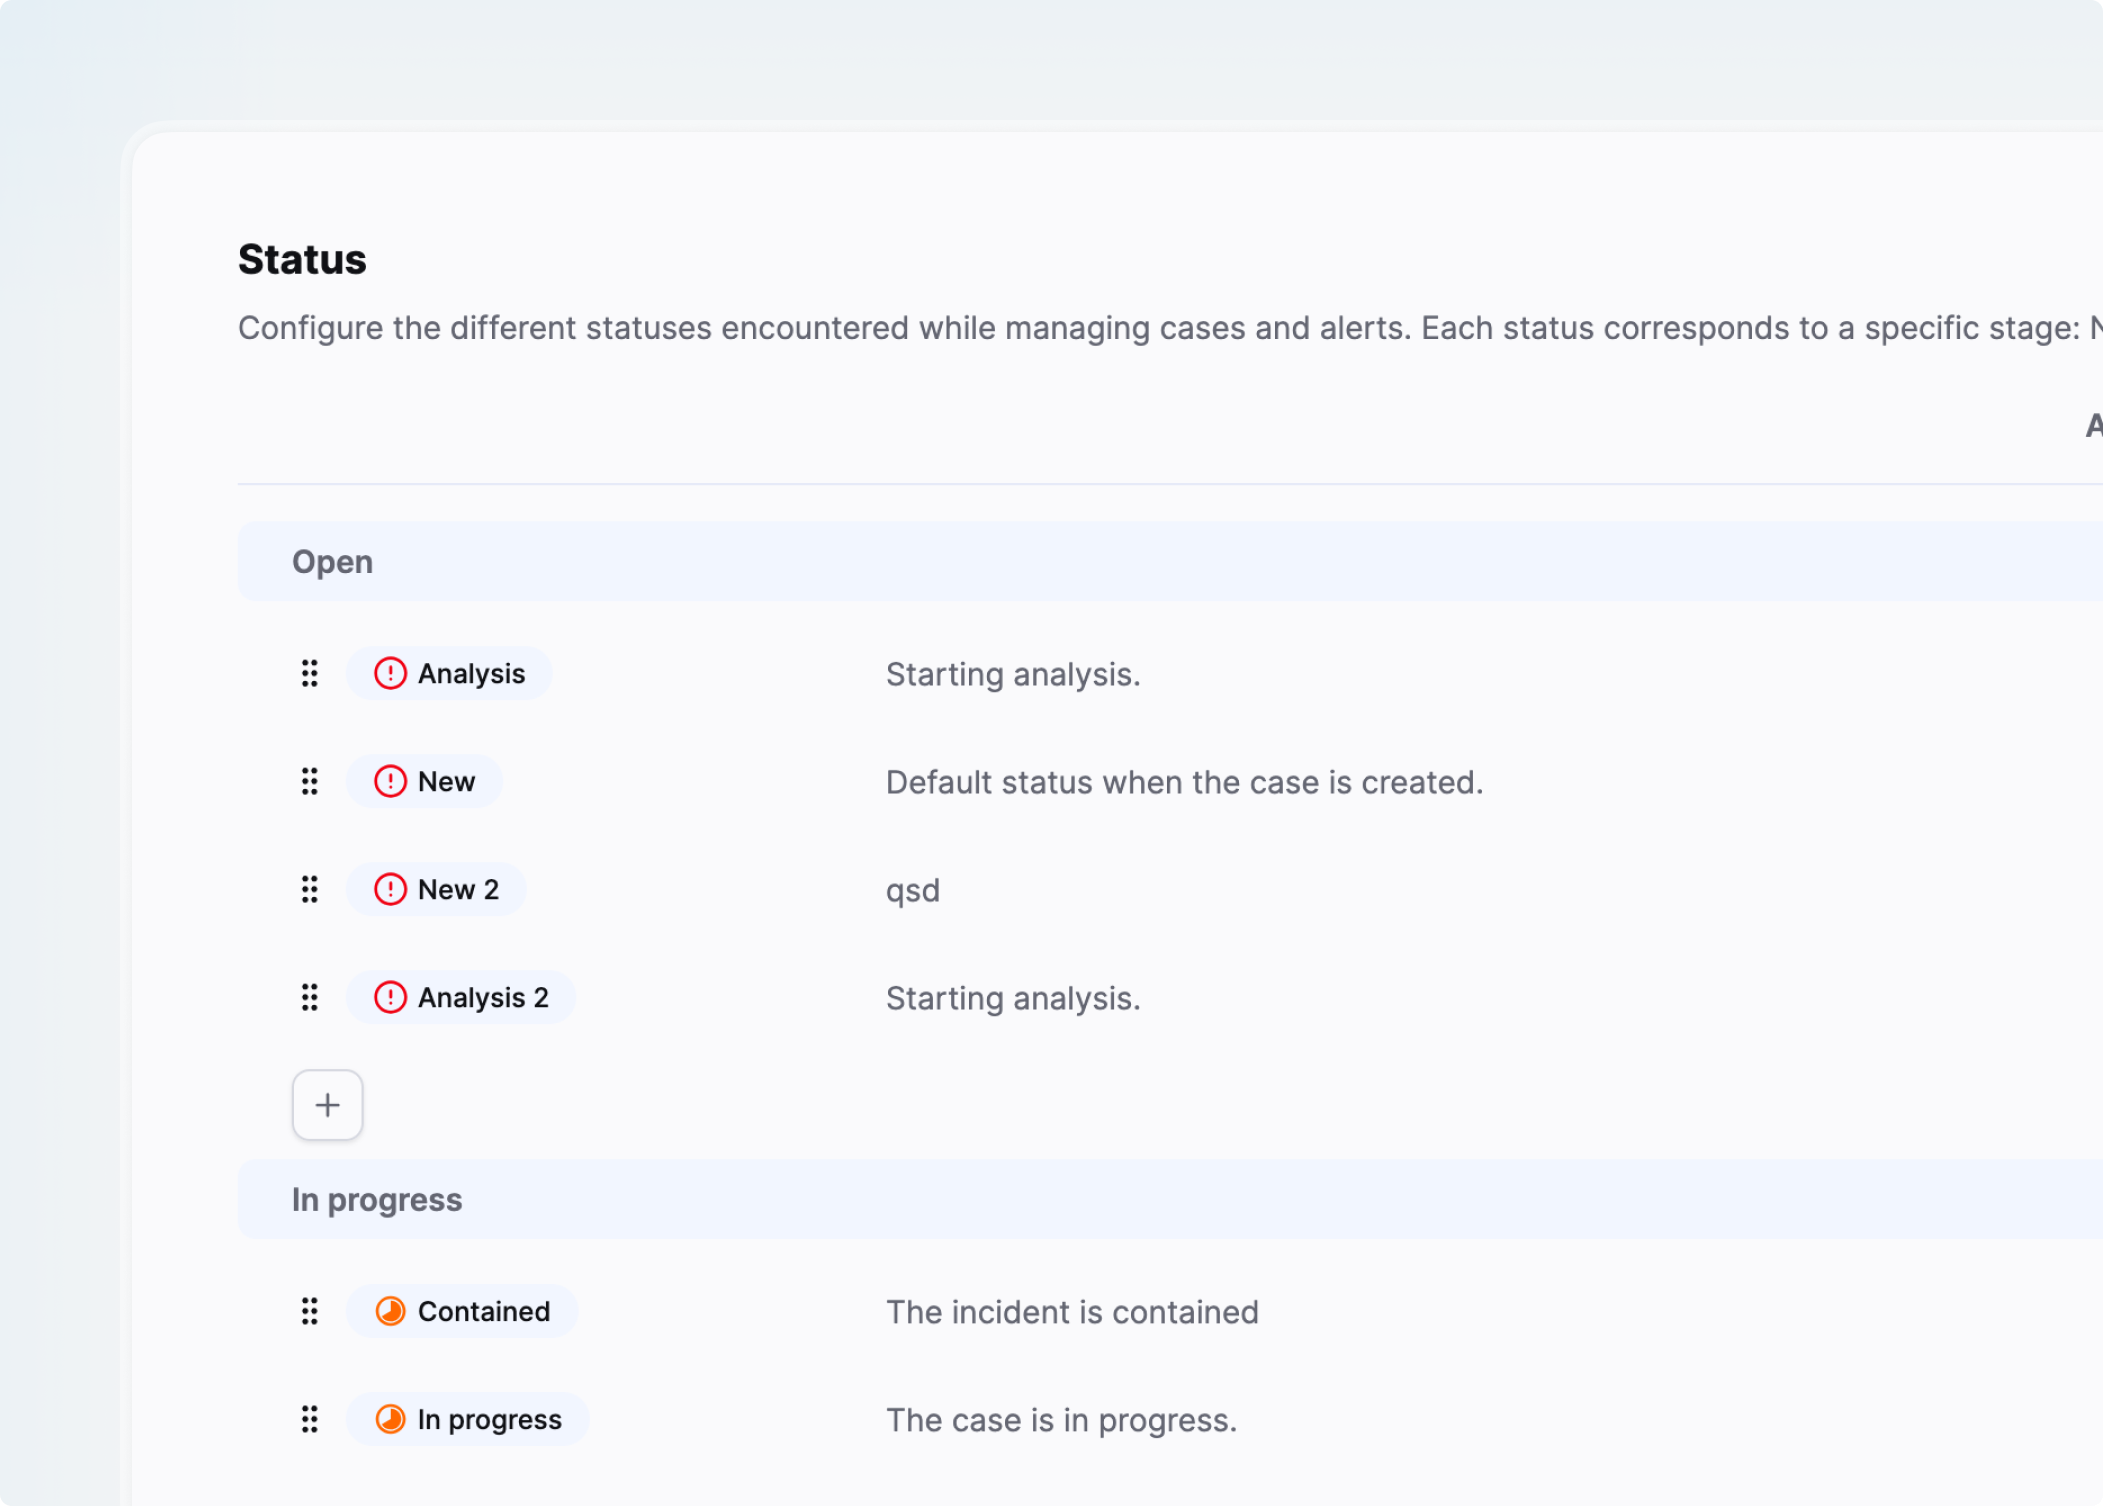
Every custom status belongs to one of three stages that define its position in the alert lifecycle:
- Open: initial stage for new or unprocessed alerts.
- In Progress: intermediate stage for alerts under investigation or awaiting action.
- Closed: final stage for alerts that have been resolved or dismissed.
Stages affect search filters and alert similarity behavior. See Similarity and alert status.
Create a custom status
- Navigate to the Custom statuses configuration page.
- Click + in the stage where you want to add the status.
- Enter a Name (for example, "Under investigation" or "Awaiting user response").
- Enter a Description to explain when the status should be used (optional).
- Save.
Note
Changing a status name or description does not affect historical data. Previously recorded status changes continue to display their original values in alert timelines and case histories.
Edit a custom status
- On the Custom statuses configuration page, click the status you want to modify.
- Update the name or description.
- Save.
Reorder custom statuses
- On the Custom statuses configuration page, use the drag handle on the status you want to move.
- Drag it to the desired position.
The new order is reflected in status dropdowns across the platform.
Enable a status for alerts and cases
A custom status can be active for alerts, cases, or both. Enabling the same status across both contexts lets you maintain consistent terminology throughout your investigations.
- On the Custom statuses configuration page, locate the status.
- Use the checkboxes in the Alert and Case columns to enable the status for each context.
Delete a custom status
A custom status can only be deleted when it is not currently in use.
- Verify that no alert or case currently uses the status. If any do, reassign them to a different status first.
- On the Custom statuses configuration page, delete the status.
Warning
Deleting a custom status removes it from all status selection menus. Verify that your team no longer needs it before proceeding.
Related links
- Configure custom verdicts: How to create and manage analyst verdicts for alert and case outcomes.
- Alerts listing: How to change alert statuses individually or in bulk from the alerts table.
- Cases: How to create and manage cases and apply statuses to them.